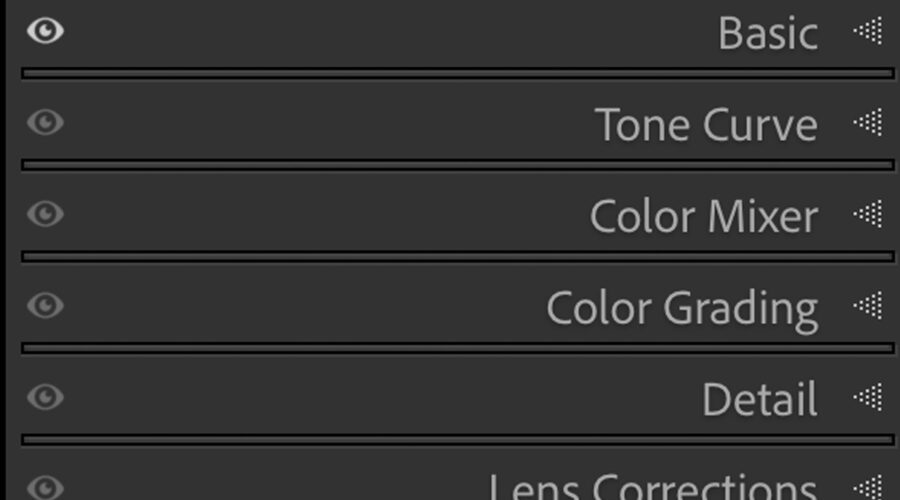
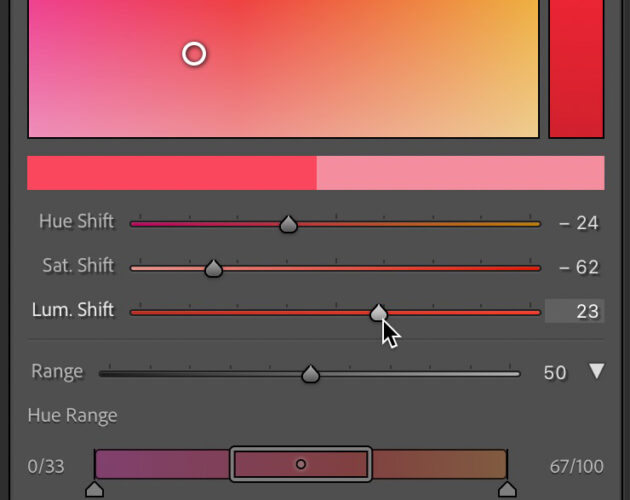
DevelopFeaturedLightroom ClassicLightroom Updates Get to Know Point Color in Lightroom Classic In the 2023 Adobe MAX release of Lightroom Classic, Lightroom, and Camera Raw we got a few new editing tools to add to our workflows. ... Rob Sylvan January 17, 2024 2
CatalogFeaturedLightroom Classic Check Out: “How to Organize & Backup Your Images When ... So many Lightroom Classic users have this question that I created an entire course, shot on location in Portugal, on how to do just that. ... Scott Kelby January 15, 2024 0
CatalogFeatured How To Find Out Exactly Where Your Lightroom Classic Catalog ... Do you know where your catalog is tonight? A lot of us don’t – we know it’s “somewhere,” but if you want the best performance from ... Scott Kelby January 12, 2024 1
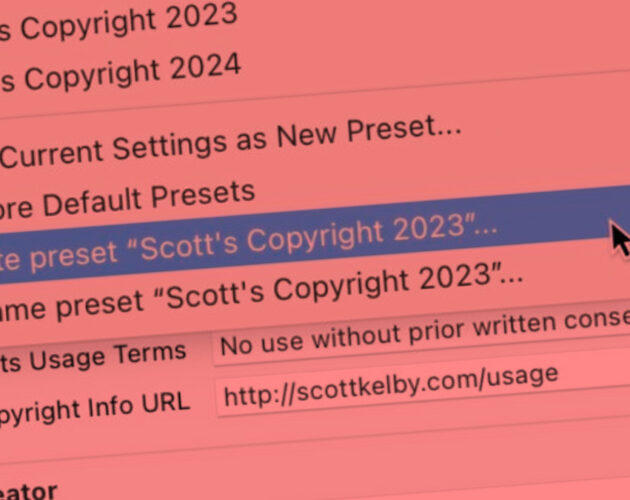
FeaturedLightroom Classic It’s Time To Update Your Copyright Info Inside Lightroom For ... Hi, everybody – I’m back from my holiday break (really enjoyed it, and the football gods were not awesome to me, as Alabama is now out ... Scott Kelby January 5, 2024 4
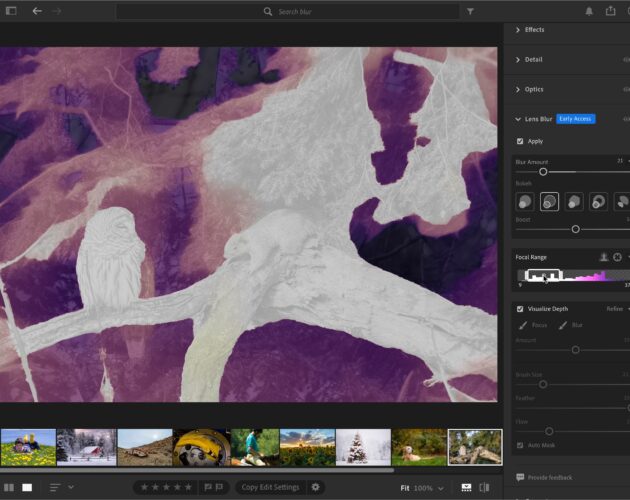
DevelopLightroom ClassicLightroom CloudLightroom UpdatesNew Features Exploring the New Lens Blur Panel One of the brand-new features included in the latest version of Lightroom Classic, Lightroom (even mobile), and Camera Raw is the Lens Blur panel. You’ll ... Rob Sylvan December 27, 2023 3
FeaturedLightroom ClassicLightroom CloudNavigation Work Smarter and Faster Using Lightroom’s ‘Solo Mode’ Solo Mode is one of the biggest time-savers and frustration avoiders in all of Lightroom, and it has the power to speed your entire workflow ... Scott Kelby December 22, 2023 0
FeaturedLightroom ClassicLightroom CloudLightroom Tips 10 Lightroom Classic and Lightroom Tips This year is quickly coming to a close and I wanted to leave a series of my favorite tips for Lightroom Classic and Lightroom to ... Rob Sylvan December 20, 2023 0
FeaturedFun Test Your Lightroom Classic Knowledge With This 10-Question Quick Quiz It’s the holiday season – let’s have some fun today. I put together a quick quiz to test your Lightroom knowledge (this is for Classic users). ... Scott Kelby December 18, 2023 3
FeaturedLightroom ClassicLightroom Cloud Busting Common Myths About Lightroom Terry’s video on this is getting lots of buzz, and if you watch you – you’ll be amazed at what you’ll uncover (and what shines a ... Scott Kelby December 15, 2023 0
FeaturedPresets Why You Usually Can’t Apply More Than One Lightroom Preset When I get the question, “Can I apply more than one Lightroom preset?” the answer kinda stinks because it’s “Well, probably not, but maybe. It ... Scott Kelby December 8, 2023 4